YTBG – Yellow Tint Be Gone
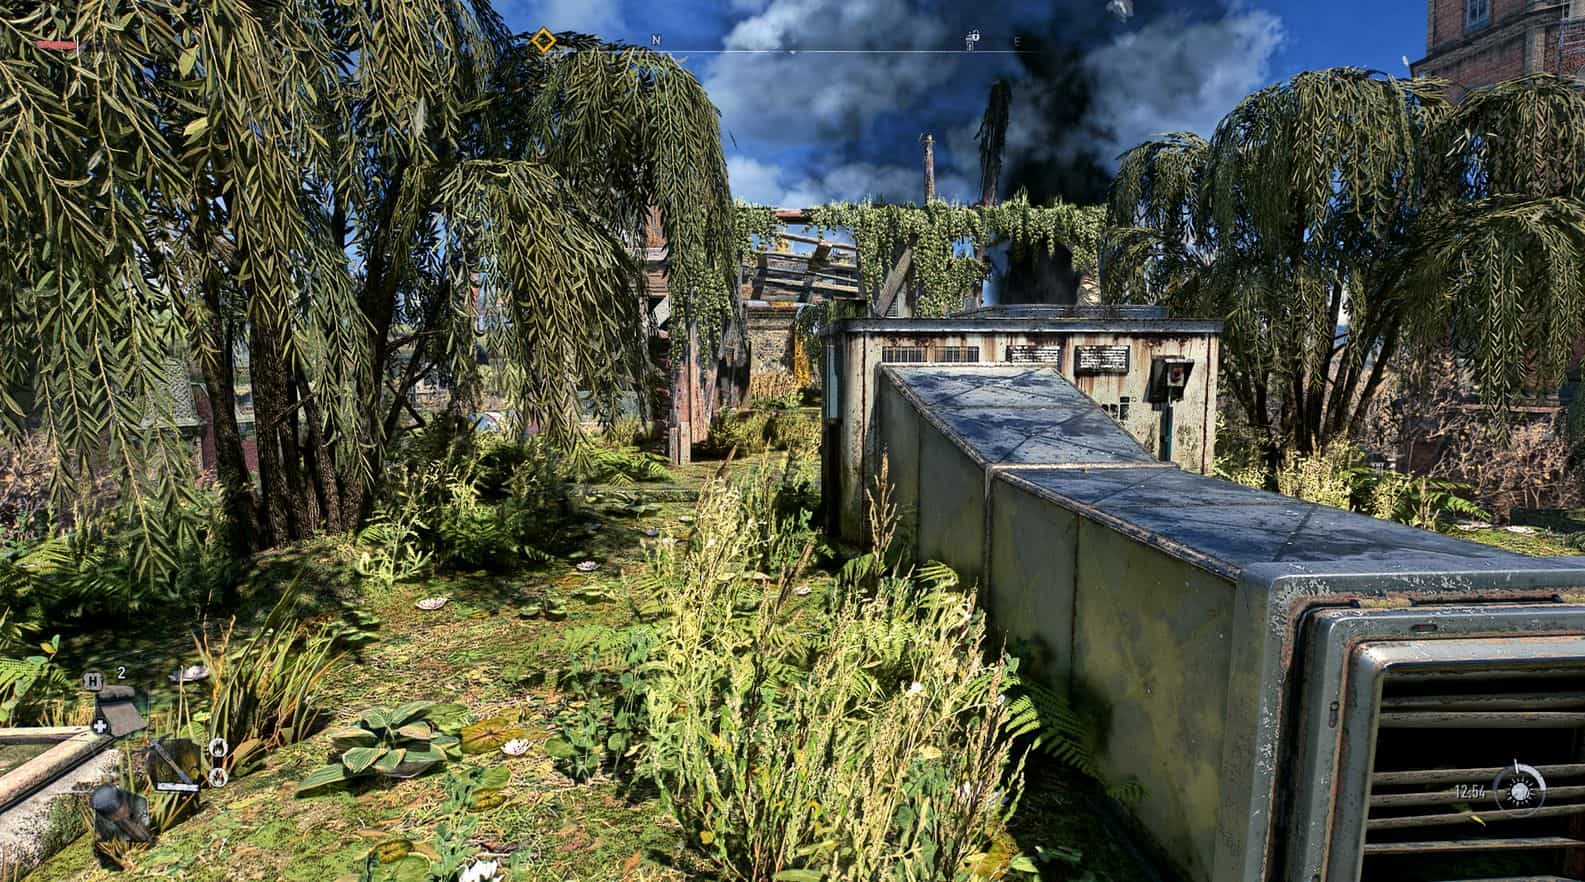
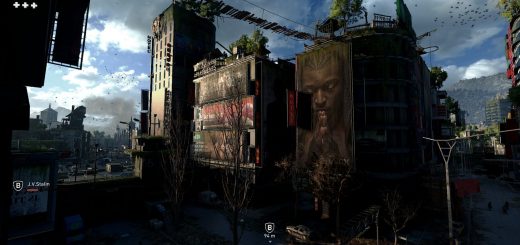
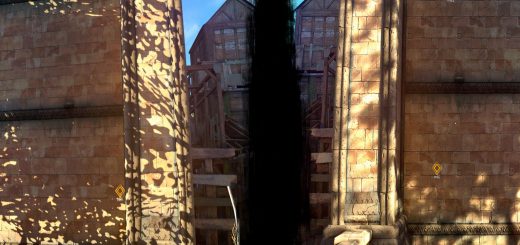
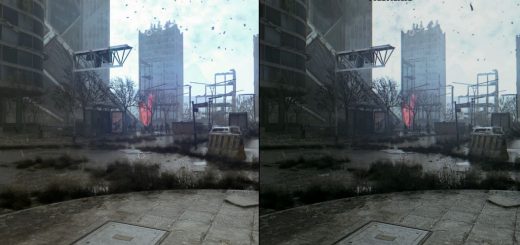
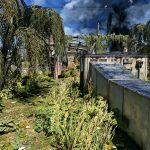
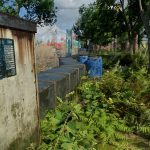
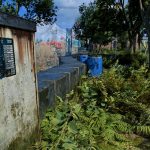
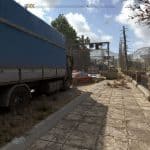
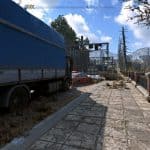
Customized Reshade preset made to remove the yellow tint in Dying Light 2. Going for more natural colours and sharpen up the image without too much fps loss.
“Less Blue and brighter nights” are now combined into one preset and are available as a separate download to “yellow tint be gone”; adjusted gamma & shadows to more match the vanilla experience, maybe a tad brighter, while still being true to my first vision of less yellow tint.
Update: Changed some values, like: white tones, shadow curves, gamma and a few more in reshade 5.3.0 version. Same vision as before, but fine tuned. – 13/08/2022
Update 2: Thanks to YouTube user “Some One Else” for notifying me that the presets didn’t work as intended on Shader 5.3.0, very much appreciated and thank you! – 13/08/2022
Heads up: after the latest game update, game devs added colour grade options under video options. Stick to “normal colour grade”, not “gritty”, or “gritty dark”. Normal colour grade is what fits with this preset and are what the preview images show here.
How to install:
First head over to Reshade.me and download the latest Reshade installer (5.3.0 atm)
In case the Reshade download has updated to a newer version from what version i’ve configured the mod to work flawless with – here’s a link to older and current versions of 5 series Reshade (Mediafire). Look in the requirements section on this mod-page to see what version I currently use for the reshade preset.
Install Reshade 5.3.0 to your dying light 2 directory, Reshade installer will try to find your game exe but if it doesn’t appear in the list just manually set directory, example;
“SteamLibrary\steamapps\common\Dying Light 2\ph\work\bin\x64” and select .exe file (DyingLightGame_x64_rwdi).
Choose DirectX 10/11/12 option -> select all packages when installer ask.
Drag “Reshade.ini” & “DyingLight2_New.ini” from winrar into the exe folder ->
“SteamLibrary\steamapps\common\Dying Light 2\ph\work\bin\x64”.
Hit “home/pos1” to bring up the hud menu to switch between Presets. The config file named “Reshade” is the ini file that controls keybinds and does not have anything to do with colour, sharpness and so forth. It is needed to use my preset keybinds mentioned down below. you can change my keybinds -> Hit “home” key -> settings -> top of the menu -> pick your preferred hot key
PM:
If you are adding a new preset file you do not need to reinstall Reshade 5.3.0, just add the preset into where the game .exe file is located (DyingLightGame_x64_rwdi)
Keybindings
Home/pos1 : Reshade Menu
End : Effect on/off
Page Up : Performance mode // Loads in only effects toggled -> less compile time
Page Down : Reload reshade // might help if some effects don’t load correctly)
Printscreen : Save image // Saves PNG image to your shader install location
Performance friendly from my own testing, your experience may differ depending on hardware.
Preview images are based on max graphics with all RTX features on & balanced DLSS on 2560x1440p resolution.
Feel free to upload screenshot examples under the add images option. Would love to see some screenarchery

