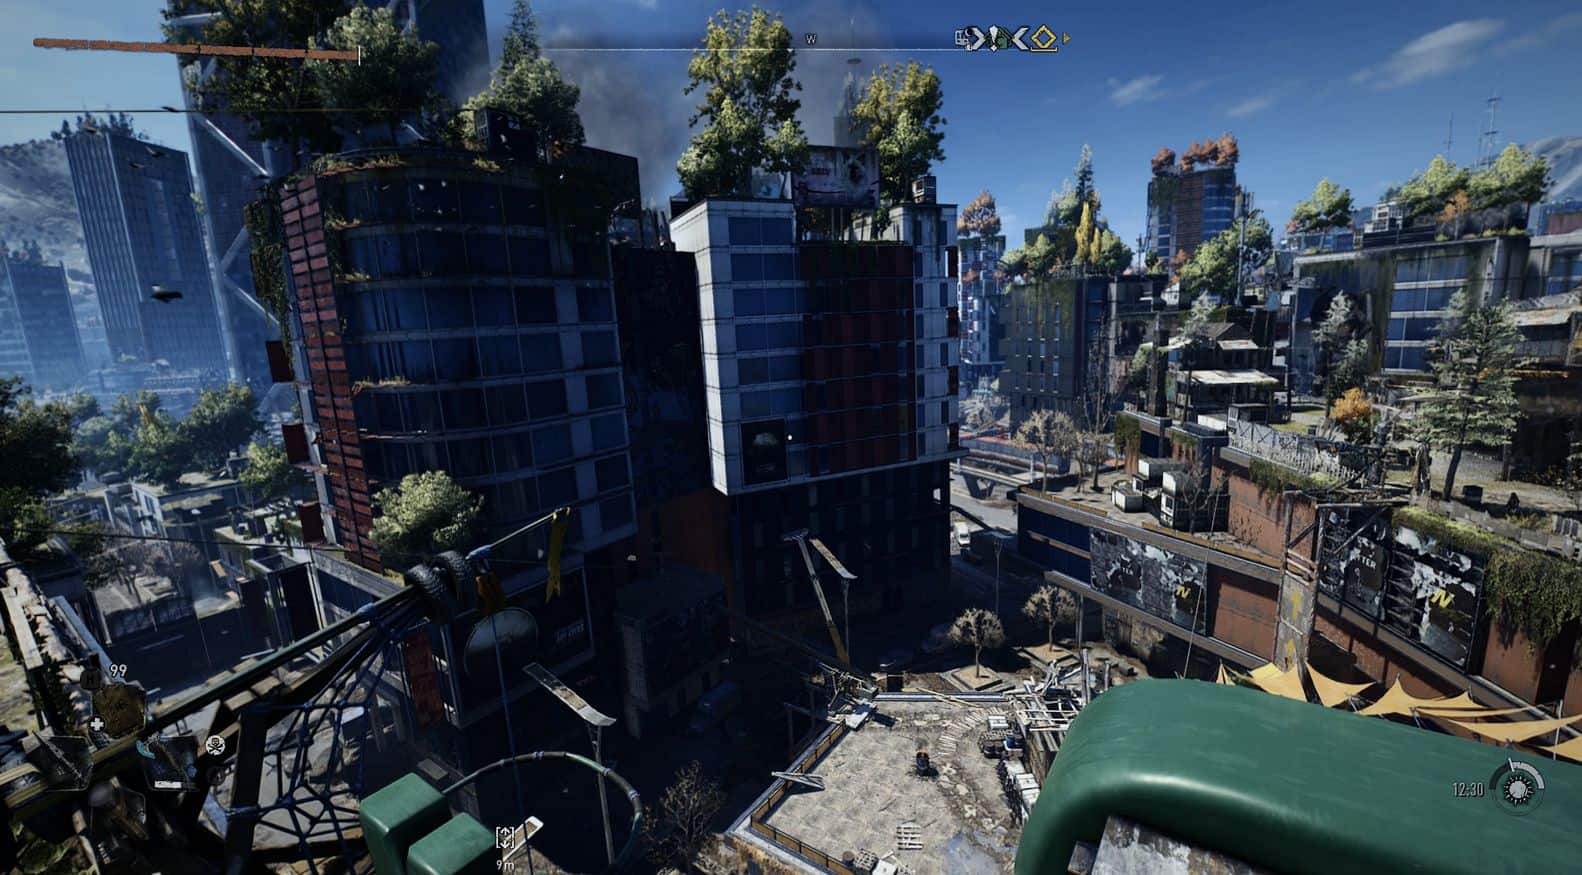
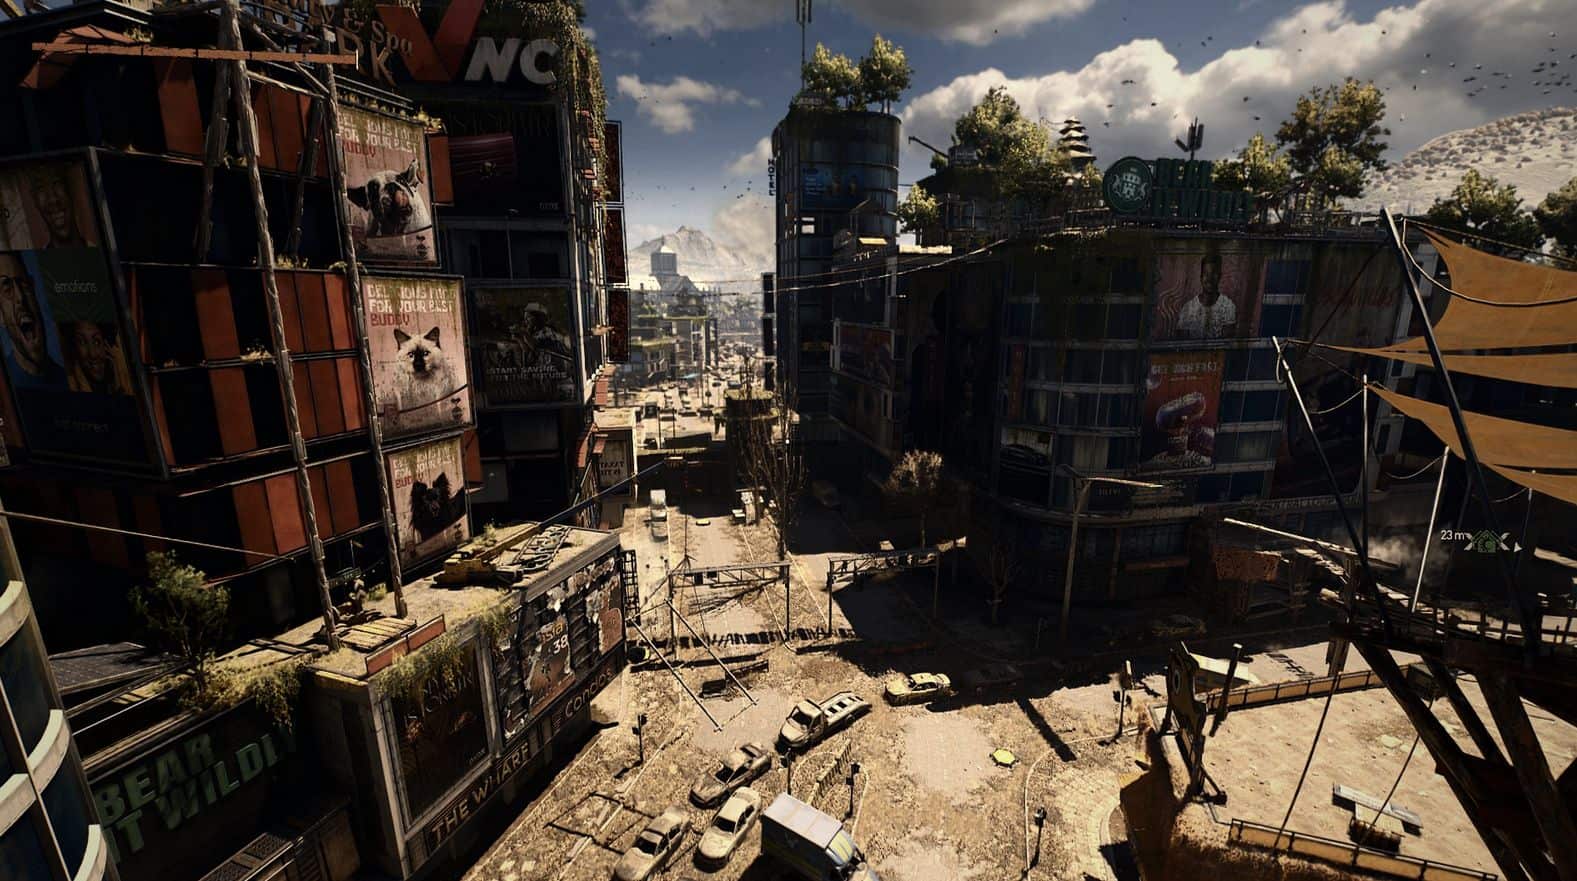
Reshade – E3 2019
With this reshade I attempted to make the game look more like the E3 trailer. However, it is still a WIP so it may not look the best at the moment. I will try to make it look as identical as I can but it may take a while to find the best settings.
P.S.
The night is really dark with this reshade so hopefully that doesn’t bother you too much.
Installation:
Run the reshade EXE, click browse and direct it to Dying Light2/ph/work/bin/x64 and select DyingLightGame_x64_rwdi.exe, select open, and then on reshade select Direct3D 10/11/12. On the next page select uncheck all and then check these effects: SweetFX by Ceejay, FxShaders by luluco250 and make sure that when you click them they have a checkmark in the box. Then you can continue until the installation is complete.
Now, download and extract this file and place the E3 2019.ini into your Dying Light 2/ph/work/bin/x64 folder.