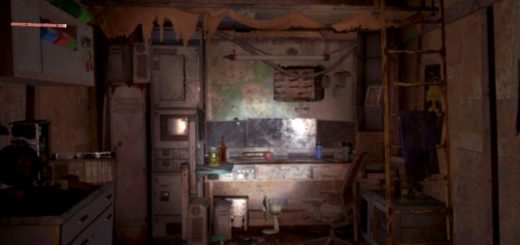
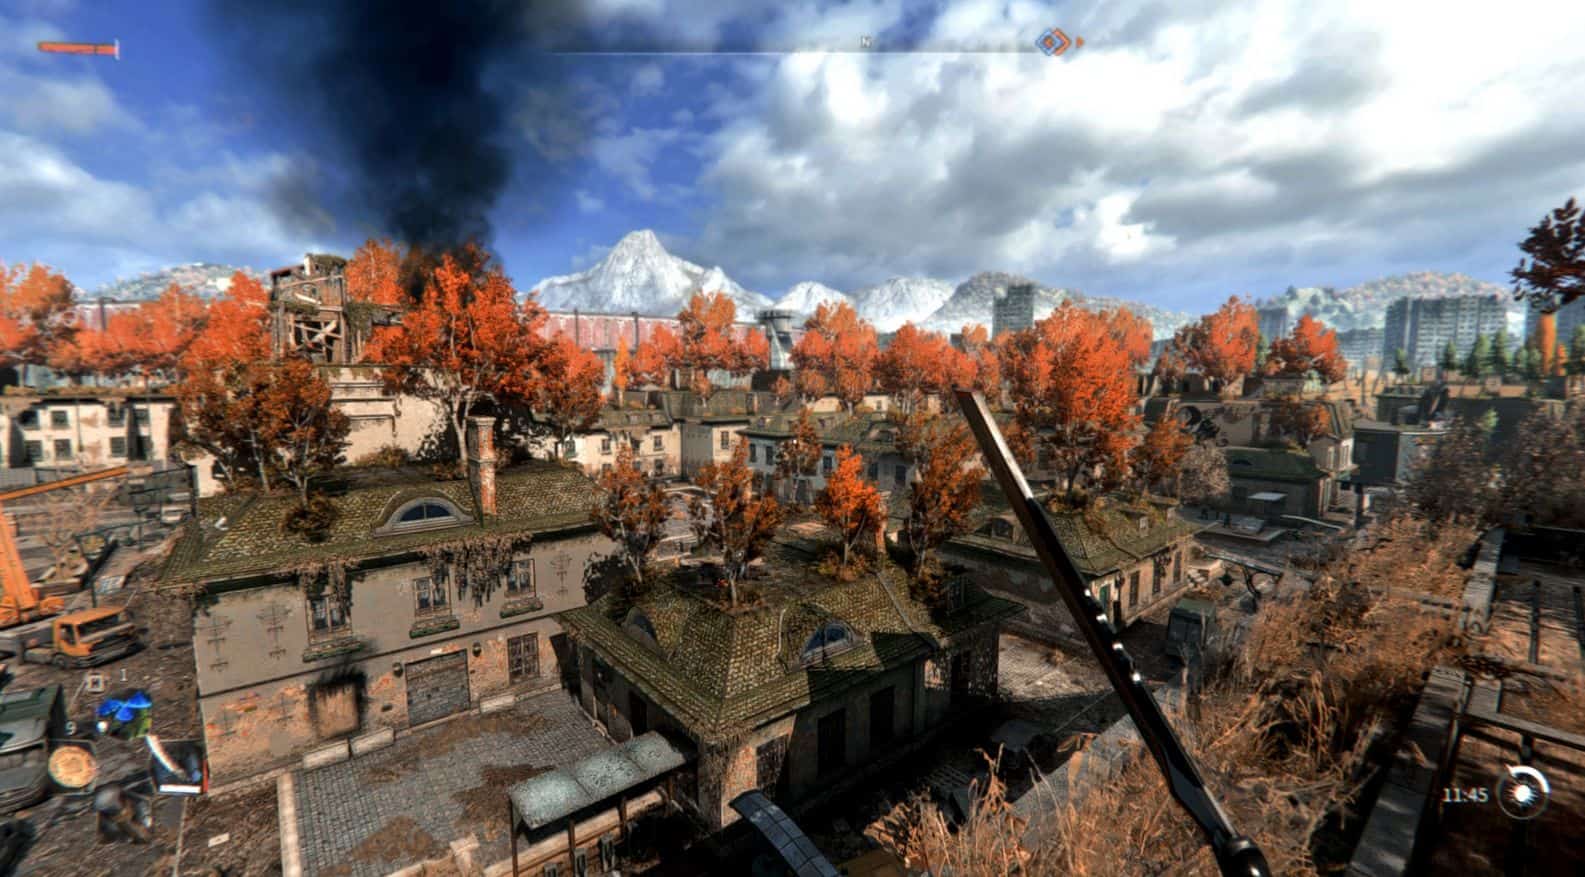
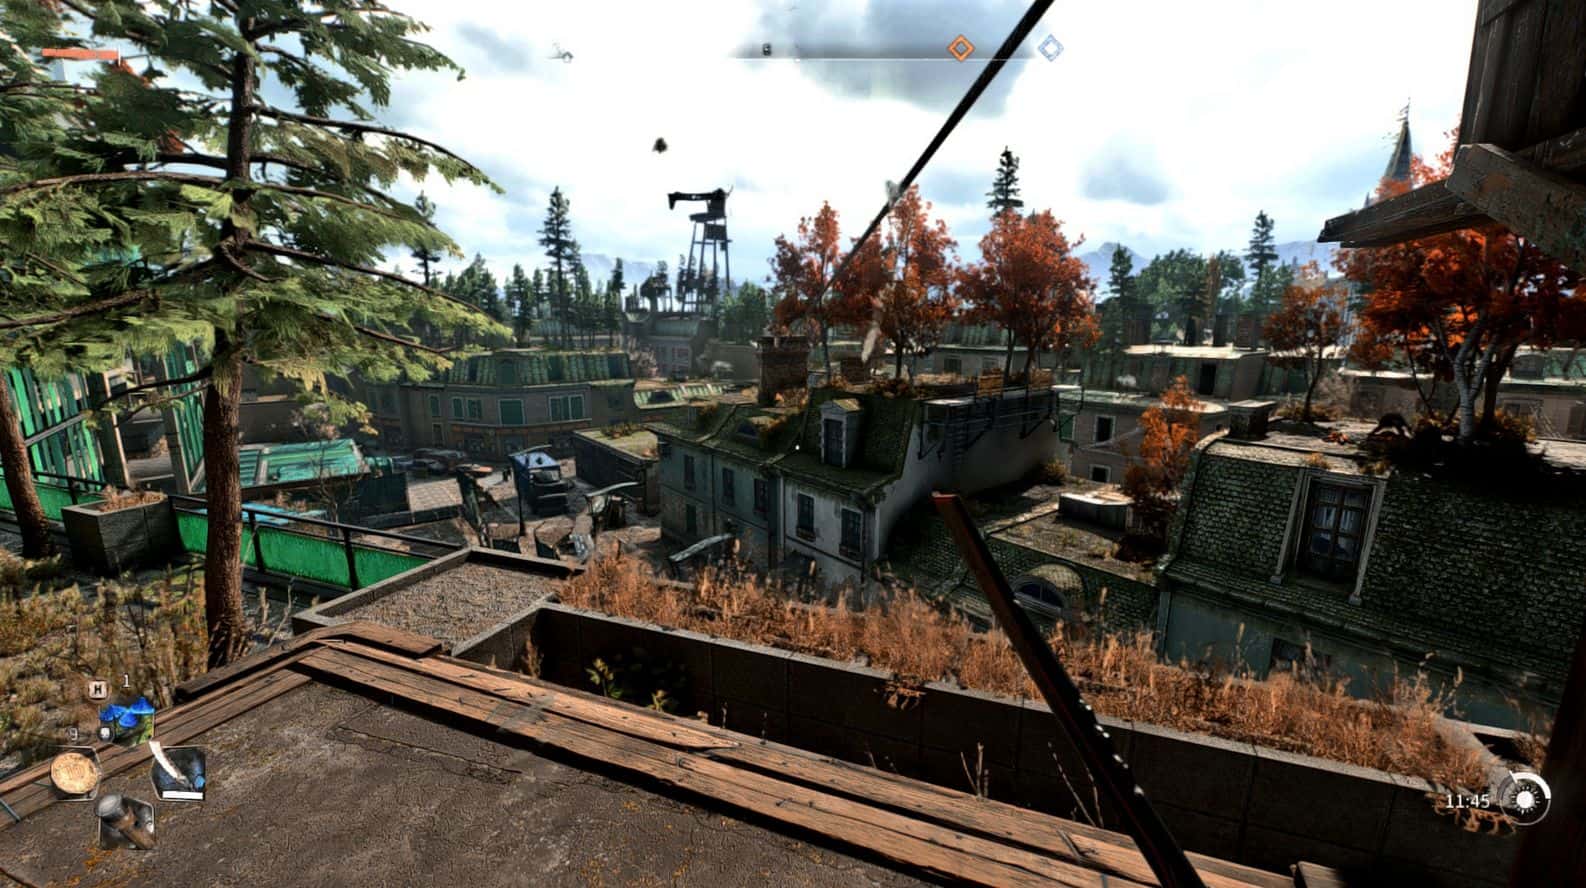
More realistic visual effects
Closer to the real visual effect. You need to install reshade first. The version of reshade I use is 4.9.1.
My game brightness is set to 28. The final visual effect is very good.
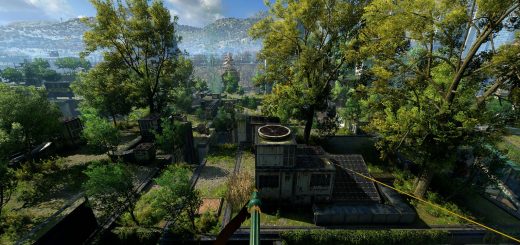
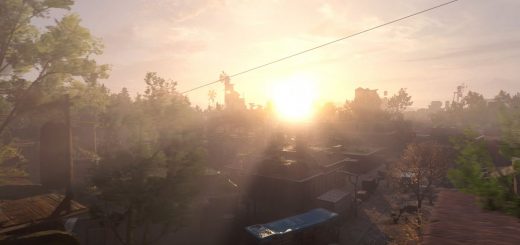
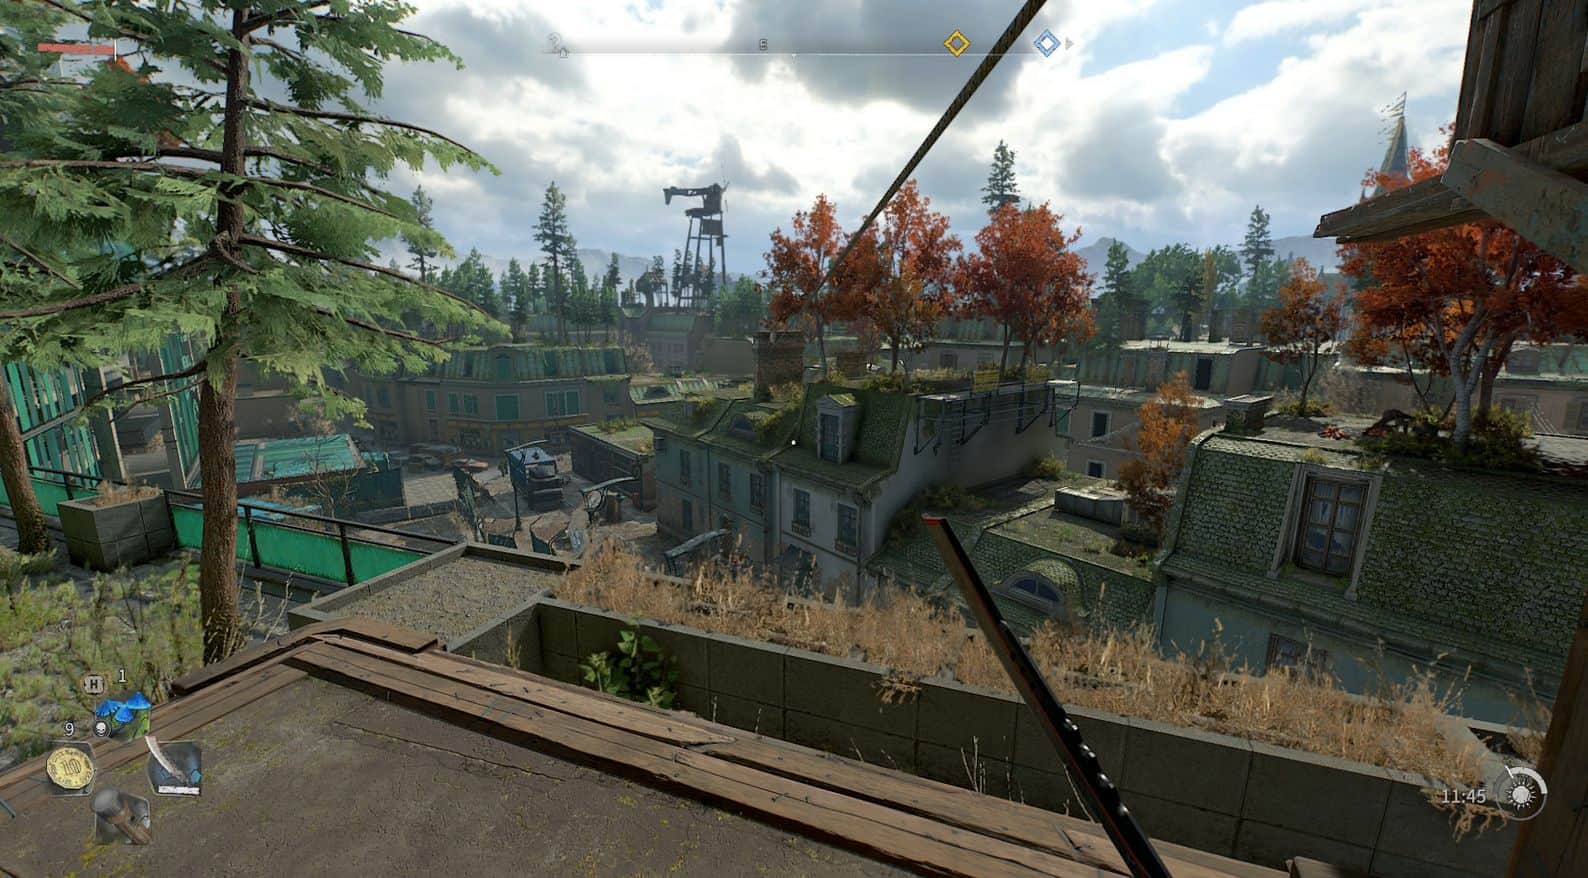
I have prepared two versions of presets here.The green version calls it Reshade G.The Yellow version calls it Reshade Y.
The image with G in its name is the Reshade G version,and the image with Y in its name is the Reshade Y version.
My game brightness is set to 28. Because I am afraid of the dark.You can use your own game brightness or mine.
You need to install reshade first.
I have prepared version 4.9.1 for my own use.Because my version 5.0.2 cannot be installed.
You Can download reshade by yourself on reshade.me.
When you have finished installing, unzip Reshade G or Reshade Y.
Copy the files inside to(steam)\ steam apps \ common \ dying light2 \ pH \ work \ bin \ x64, and replace all files.