Dying 2 Reshade
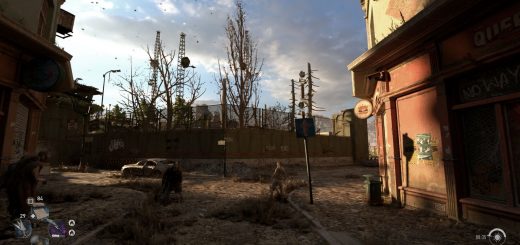
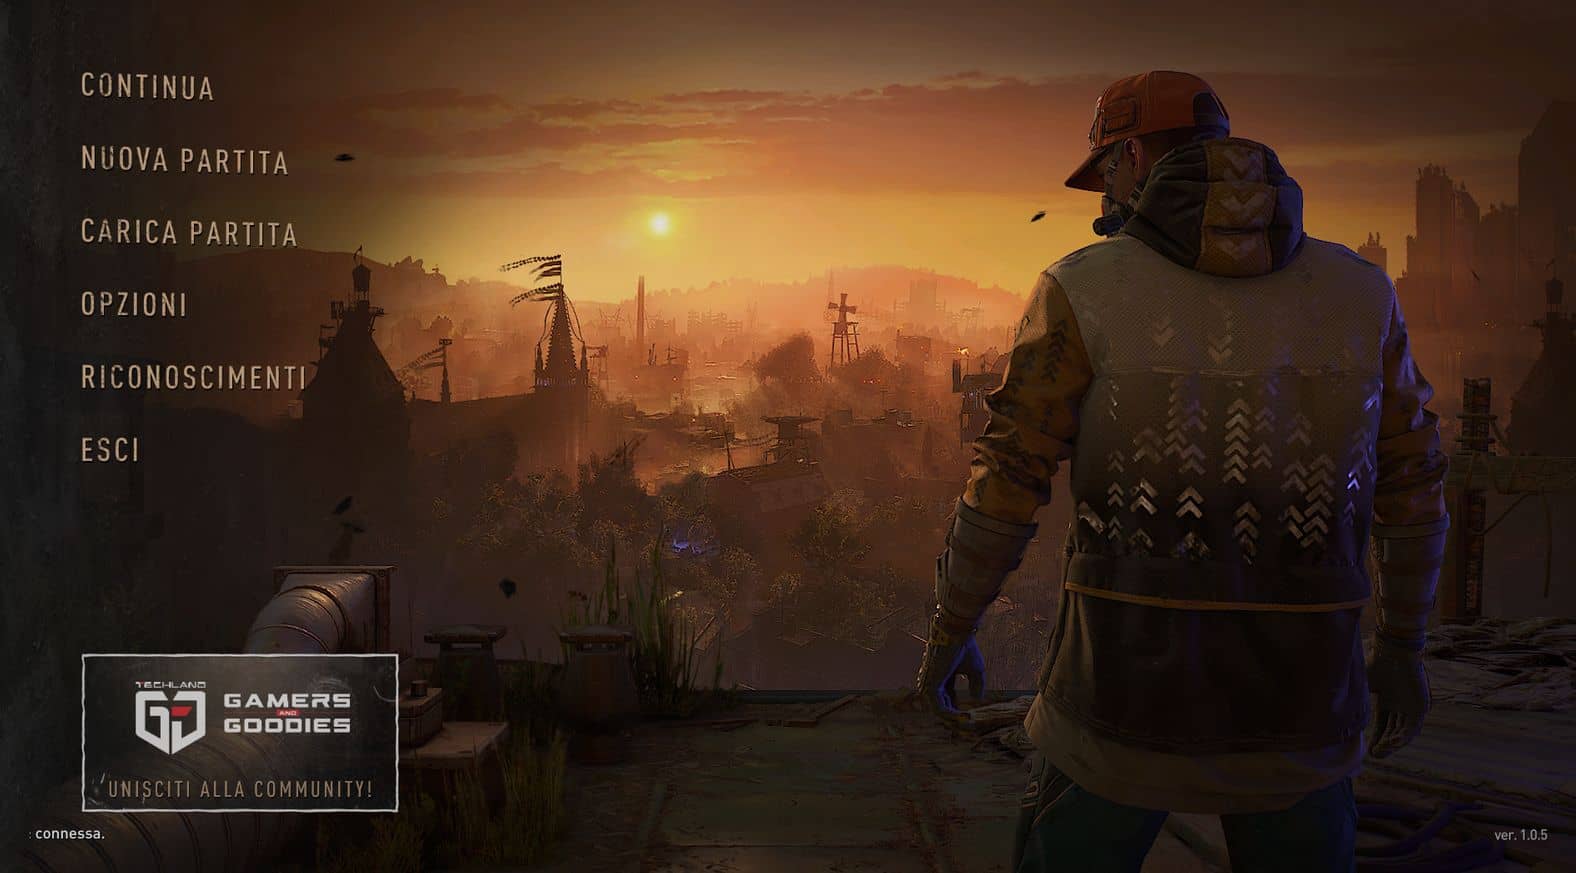
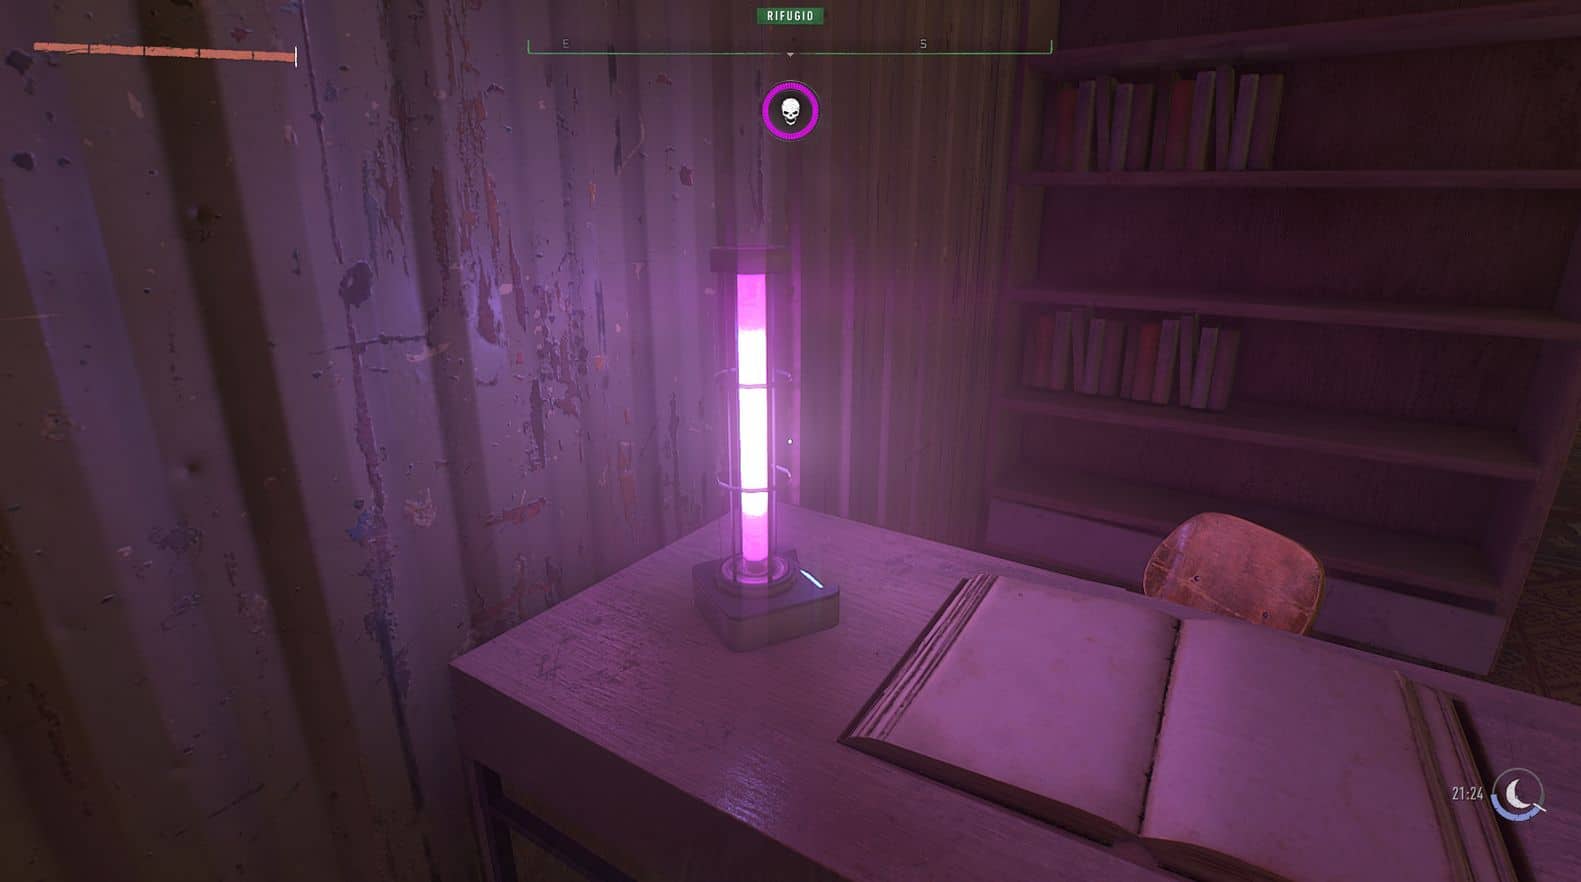
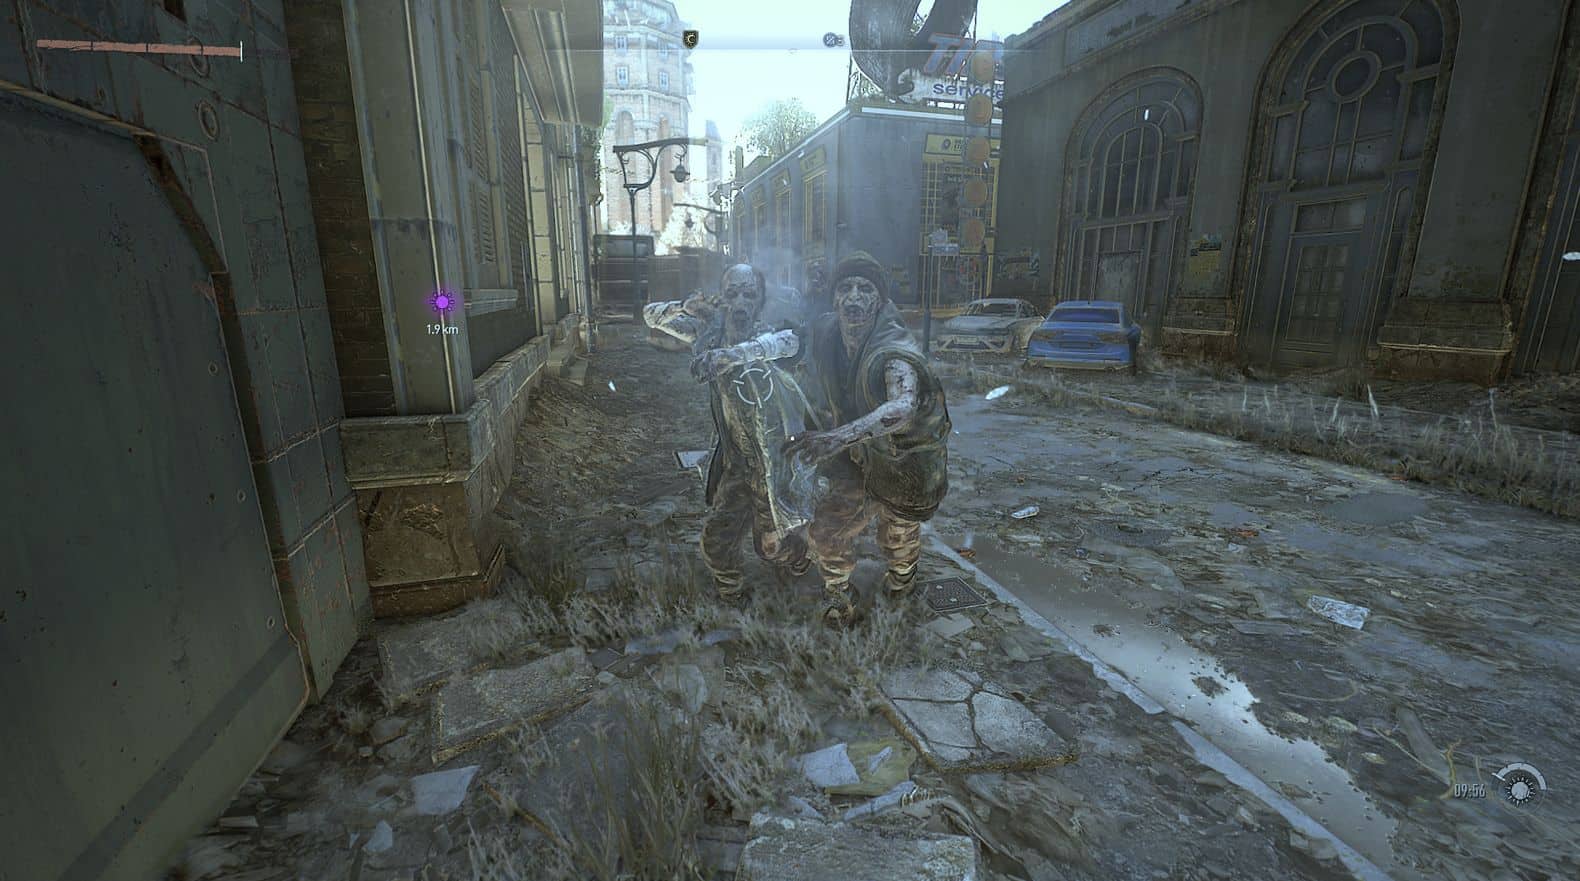
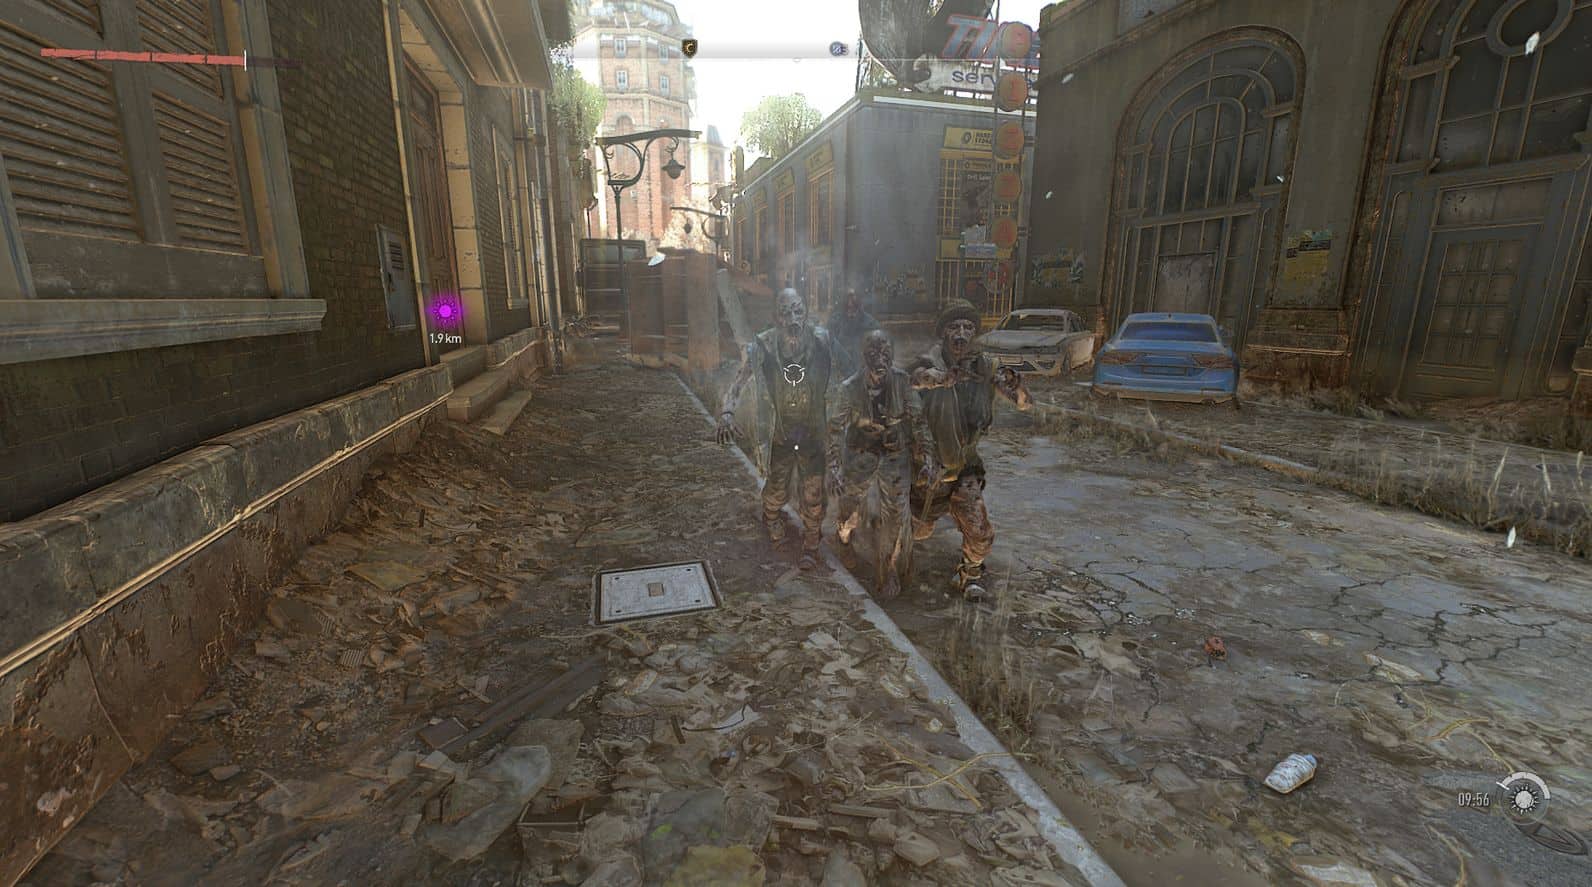
Sharing with you my personal ReShade, opting to remove the green and yellow tint from the vanilla game. Inspired from the E3 Gameplay Demo.
Install instructions:
download ReShade;
open the setup and select Dying Light 2’s exe file browsing to “Your Dying Light 2 folder”\ph\work\bin\x64;
select dx10/11/12;
leave as it is, just continue;
NOTE: you can already select the ReShade file to apply to your game during the setup, but I suggest you to move the file in your “Your Dying Light 2 folder”\ph\work\bin\x64 folder so that you know your file is there and not in the folder where you downloaded my ReShade file. Do as you wish;
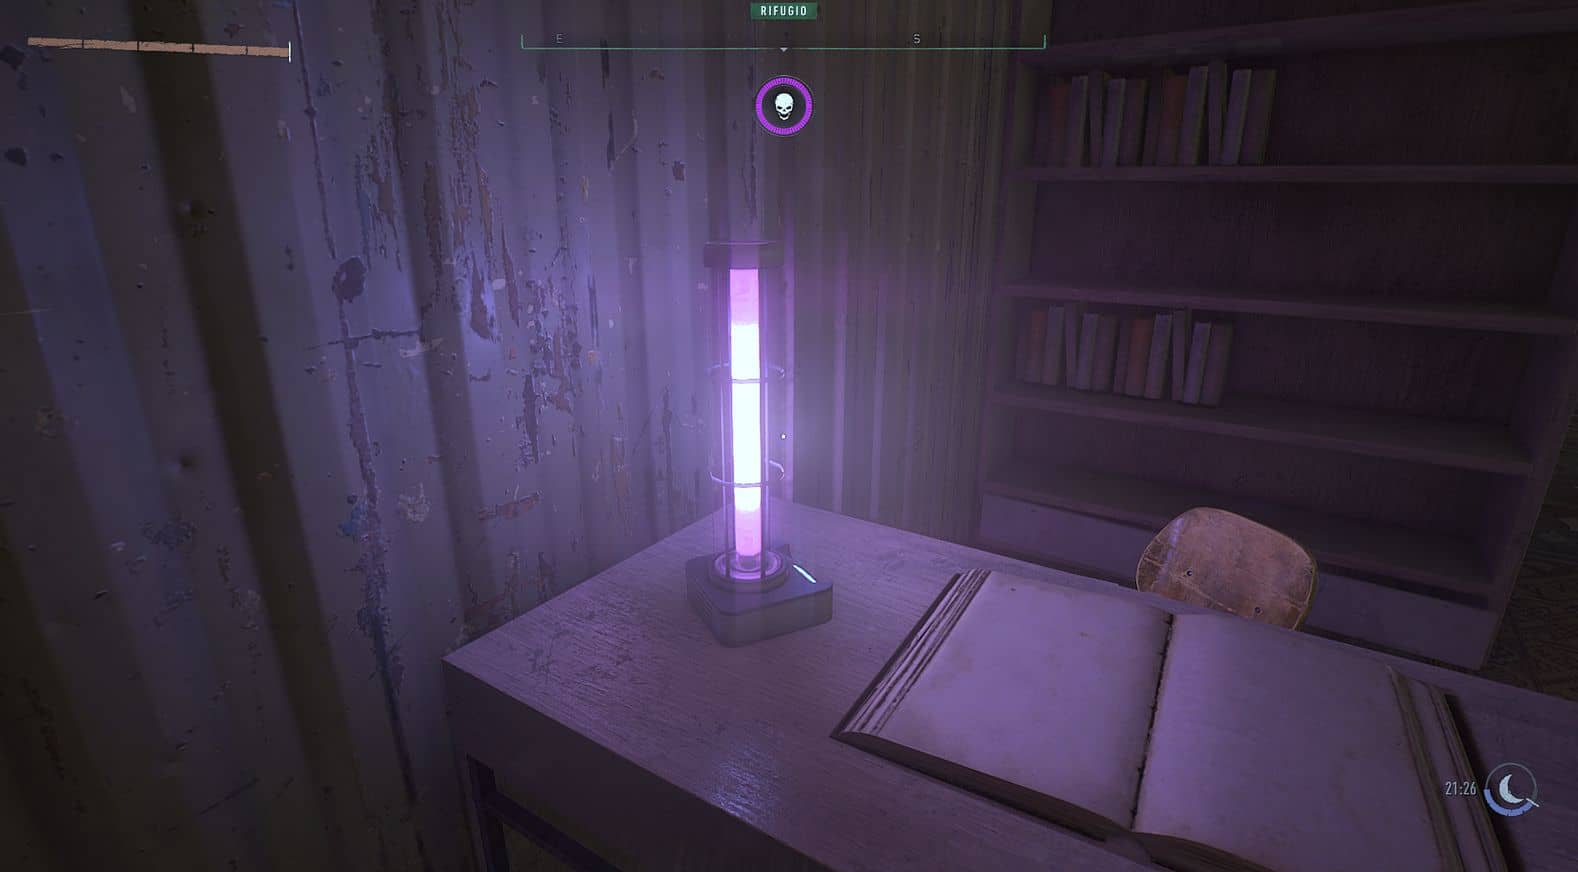
OPTIONAL: go to “Your Dying Light 2 folder”\ph\source and open “data0.pack”. Browse to gui\hud_pc and delete “weapon_broken_bigmsg_pc.gui” and “weapon_selector_pc.gui” files for more immersive experience. The first file is the weapon/gadjet GUI at the bottom left of the screen and the second one is the message that appears when your weapon breaks. I personally don’t like both of these things, do the same if you’d like;
NOTE: the ReShade file is already applied if you selected it during the setup process;
Enjoy!