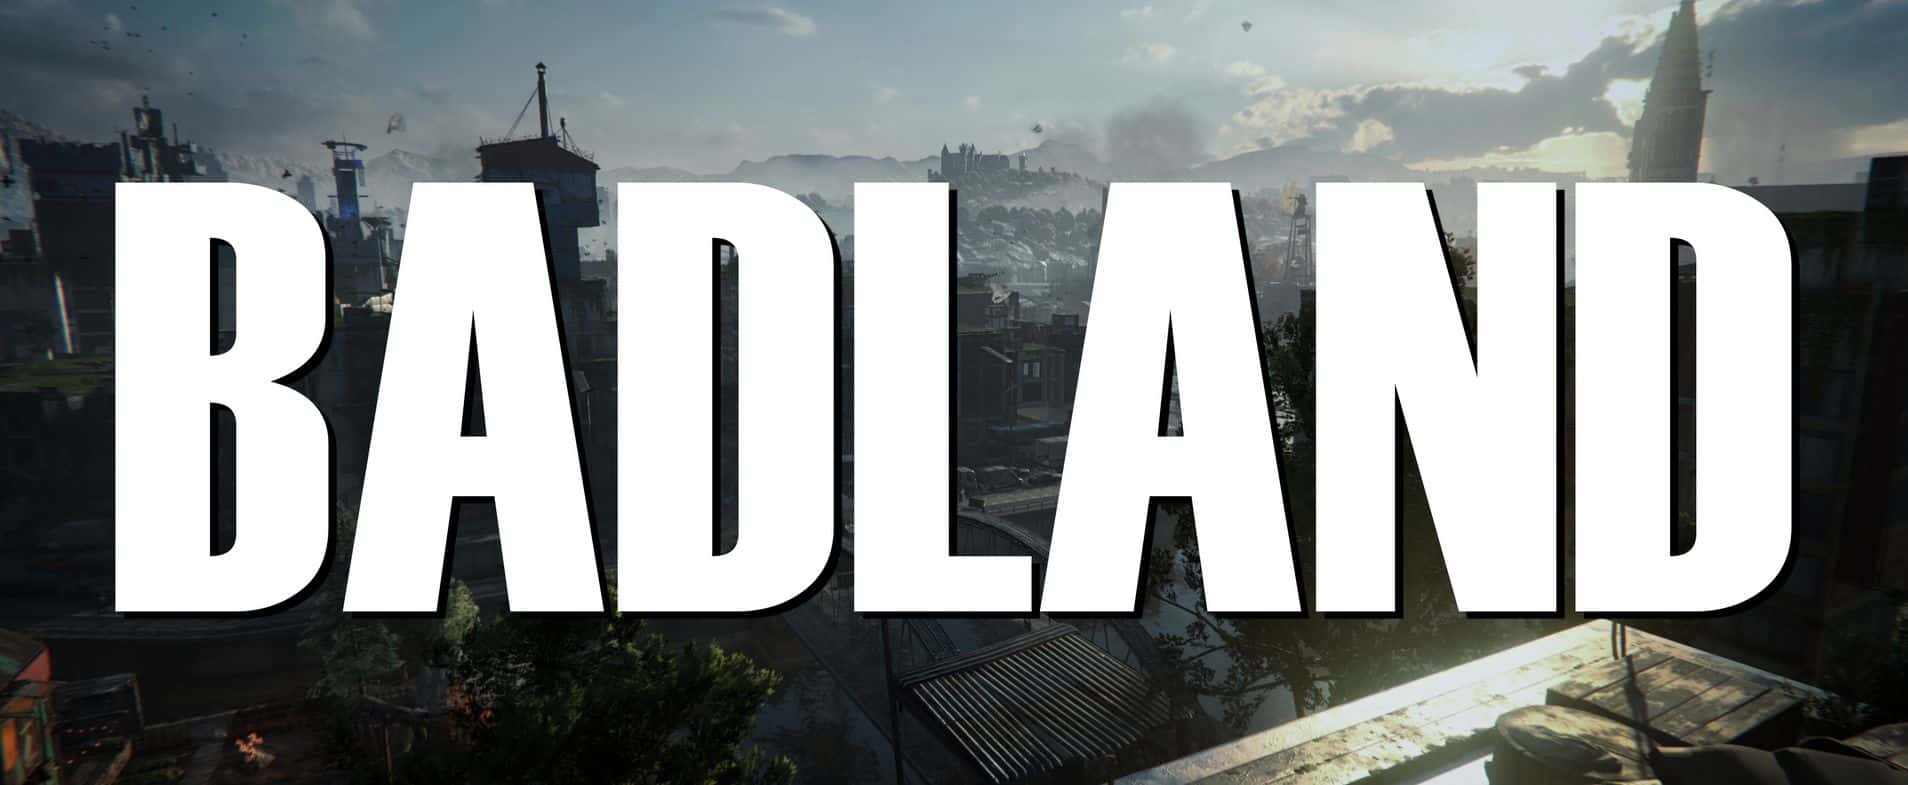
BADLAND – A ReShade suite
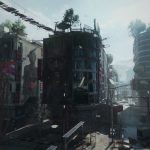
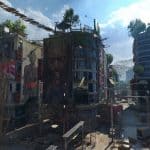
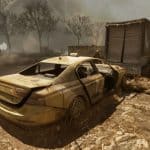
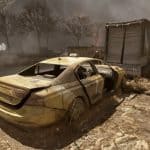
Enhancing the zombie apocalypse with a more cinematic horror vibe by targeting the 2018 Gameplay Trailer’s aesthetic. A gloomy, less vibrant look befitting the bleak world of Dying Light.
Also includes a warm saturated version, a more balanced natural version, and one preset tailored for nights.
Hi! These are my personal presets I’ve been using since launch. Inspired by Dying Light 2’s 2018 Gameplay Trailer and the cinematic color grading of movies I enjoy.
Adaptive Fog is used to add more atmosphere and goes a long way towards achieving the look of the 2018 Gameplay Trailer. If that’s not your cup of tea, it can be toggled on/off. It doesn’t play nice with menu screens but works fine in-game if you remove the game’s Barrel Lens Distortion effect. If you don’t plan on removing this effect, I’d suggest leaving the AdaptiveFog shader off.
NO POST PROCESSING EFFECTS like flare etc.
Shaders used
ArtisticVignette*
Filmic Anamorphic Sharpen*
MagicHDR
Lightroom
AdaptiveFog*
ADOF*
CA*
Chromatic Aberration
* = Optional
LITE version
For those who can’t spare any fps, you’re in luck! The Lite version is built into the full preset. Just toggle the optionals off. This leaves you with MagicHDR, Lightroom, and Chromatic Aberration.
– Lightroom is essential and is the heart of the preset.
– CA isn’t for everyone, so lose it if you don’t like it. However, it costs next to nothing and I use it in an unobtrusive way by limiting it to just the edges of the screen.
– Lastly, there’s MagicHDR. After AdaptiveFog, I consider this crucial towards getting that hazy look I’m going for but drop it if all you want is the color tweak Lightroom provides.
Preset Notes
– This preset was made with default brightness settings and the game’s Filmgrain turned off at 3440x1440p/DLSS Quality and 4k/DLSS Balanced.
– Make sure these shaders are stacked in the order you see here otherwise your results may differ from my screenshots.
– Some of these shaders(Adaptive Fog for example) seemingly scale to your display’s resolution, so 1080p may not render like in my screenshots. They may appear more pronounced at lower resolutions.
– The base preset(MagicHDR, Lightroom and Chromatic Aberration) costs about 3 fps.
– DOF costs around 3 fps.
– The full preset will eat about 6-9 fps depending on the scene.
Shader hotkeys
+ – ADOF DOF looks great for screenshots but interferes with menu screens. Toggle off when in menus.
– – Adaptive Fog(This effect is janky unless you remove the game’s Barrel Lens Distortion and works best at 1440p(DLSS Quality and Balanced) and 4k(DLSS Quality and Balanced). Not sure if it’ll look right at 1080p. You may have to tweak the settings yourself to get it looking like in the pics. See above Nexus mod link for how to remove the game’s Barrel Lens Distortion)
* – MagicHDR
/ – ArtisticVignette looks great in brighter environments but causes ugly artifacts in darker scenes.
Page up – For both Filmic Anamorphic Sharpen and CA
INSTALLATION
1. Download the version of BADLAND you want and unzip its contents to wherever you wish to keep them.
2. Place the preset where your Dying Light 2 exe is.
3. Install ReShade and tell it to load shaders from BADLAND.
– 3a. Download NO POST PROCESSING EFFECTS like flare etc. and use it to remove the game’s Barrel Lens Distortion(required for Adaptive Fog to work correctly). The AIO version works perfectly. The modular version no longer works. Alternatively, you can ignore this step if you plan on not using Adaptive Fog.
4. Once you load the game and ReShade’s GUI is up, pick Badland from the preset dropdown and hit select.
5. Profit!
Good night and good luck, pilgrim!

